
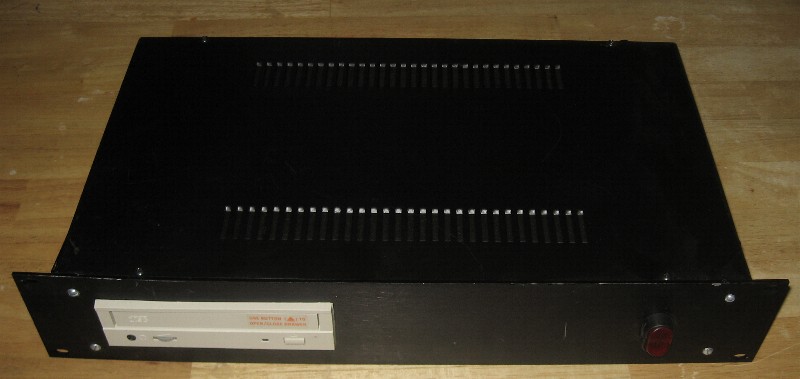
Rack mounted CDRom and Hard drive for Roland XV5080
After I purchased my Roland XV5080 I decided to expand it to include a CDROM and hard drive so that I could read sample CD's and save files onto a hard drive. The Roland XV5080 has a built in SCSI interface, so this project is basically installing the two plus power supply into a rack case. I looked online for something like this but everything cost at least $500 dollars. I spent about $150 on this project rack and power supply, not including disk drives.
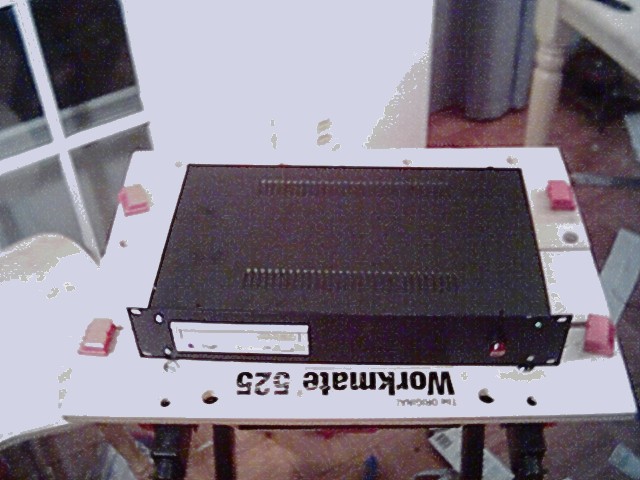
This is what the finished unit looks like. It did not turn out bad for first time working in metal. Select the small images below to see a larger version of the pictures. Sorry for the low quality, they were taken with a cheap digital camera. Also I have no plans for this, but the build is pretty straight forward.
 | ||

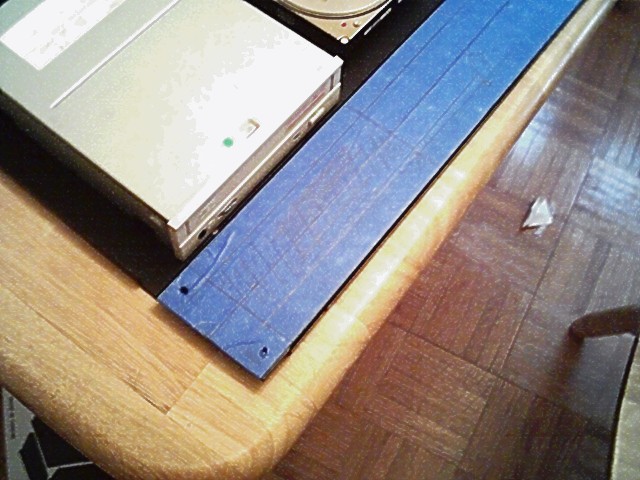
| All the parts, most were purchased from JamesCo. The drives were from Computer Giants. | |

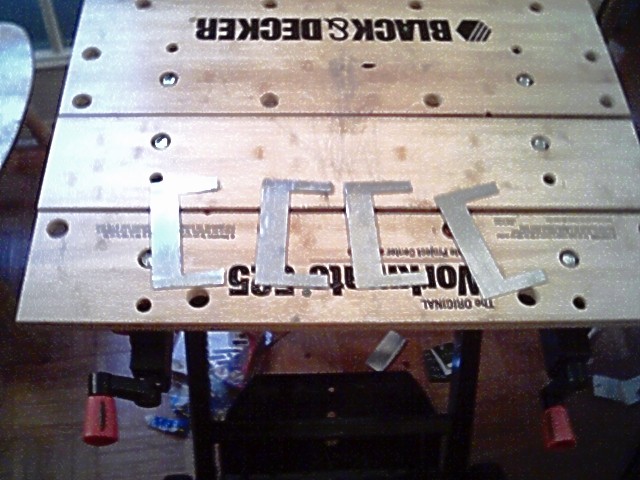
| First step was to layout the drives and power supply for best fit. Also the ends of the rack where taped with painter tape to aid in marking. | |
| The marked out front panel. | |
 | First step in cutting out the front was to drill lots of holes around where the CDRom would go. Next the center was cut out with a dremel tool. Lastly the edges where filed to become smooth. | |
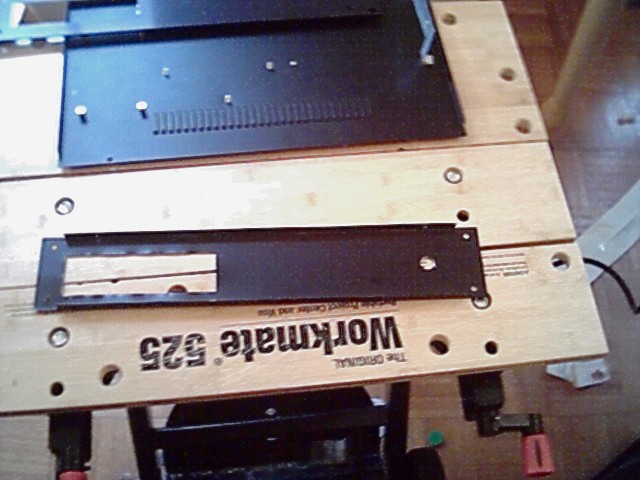
| Final result was a nice hole for CDRom to slip through and hole for power switch. A similar process was followed with the back. | |
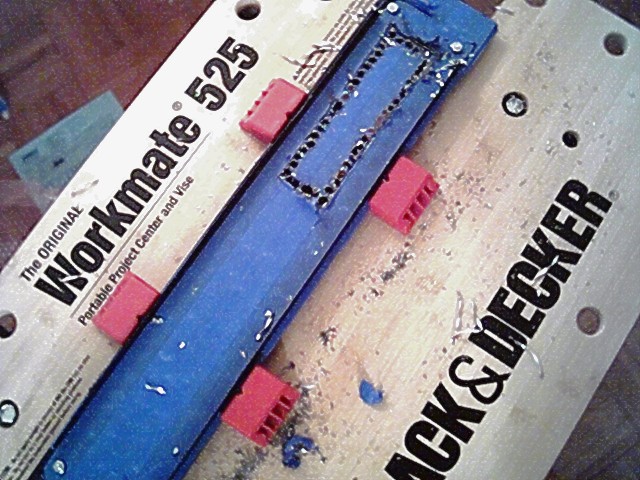
| The holders for the drives where cut out of a sheet of sheet metal. | |

| The ends where bent and holes drilled to mount the drives. | |
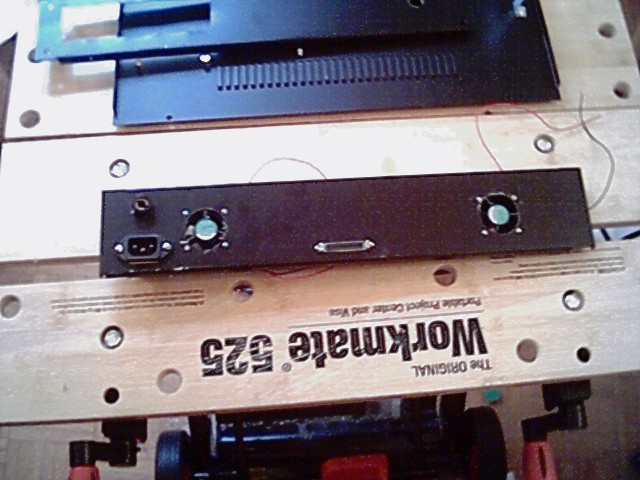 > >
| The back shown with the fans, power connector, fuse and SCSI connector. | |
| From back. Remember always use fuse for safety. Also socket came with built in surge protector/power filter. Well worth the couple extra dollars. | |

| Holes were drilled and tapped in the bottom to mount the various components. | |
 | Same from other side. | |

| Everything secured to bottom with machine screws, and ready to start task of wiring. | |
 | Showing view from front of case. | |
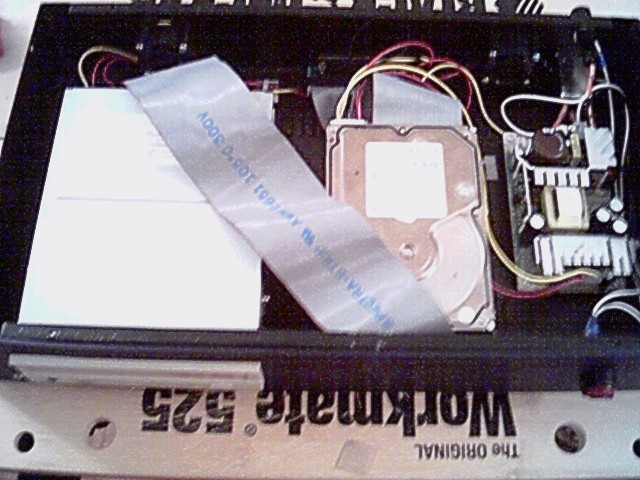 | After all parts where wired. Basically AC goes hot side goes through fuse, to power switch to power supply. Other side of AC goes directly to power supply. The outputs of the power supply are wired to the drives and also the +12Vs goes to both fans. The ribbon cable runs from SCSI in to each of the drives. The cable goes over the top of the hard drive to keep from bunching up behind hard drive and disrupting air flow from fans. | |
 | Back side view. | |
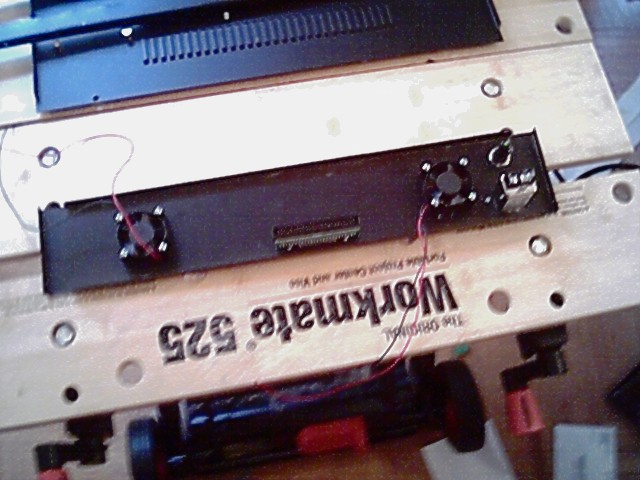
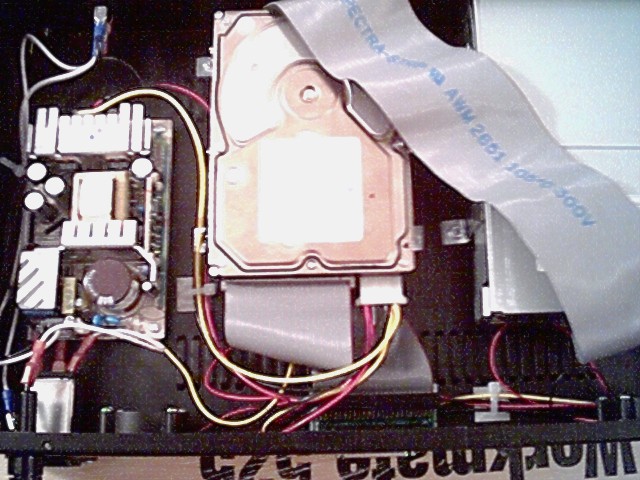 | Close up of inside wiring. | |
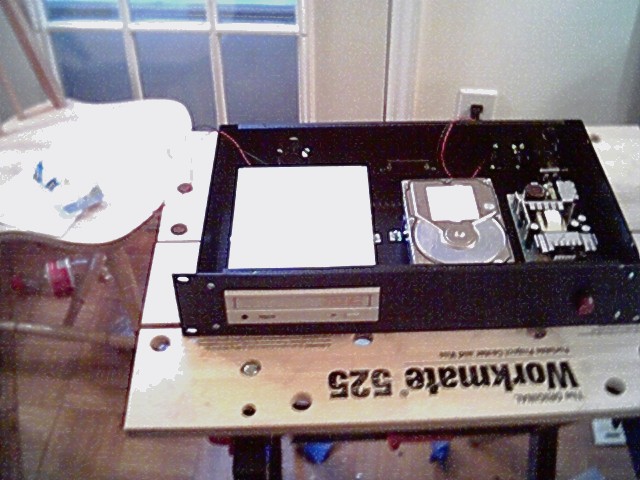
 | All finished. | |
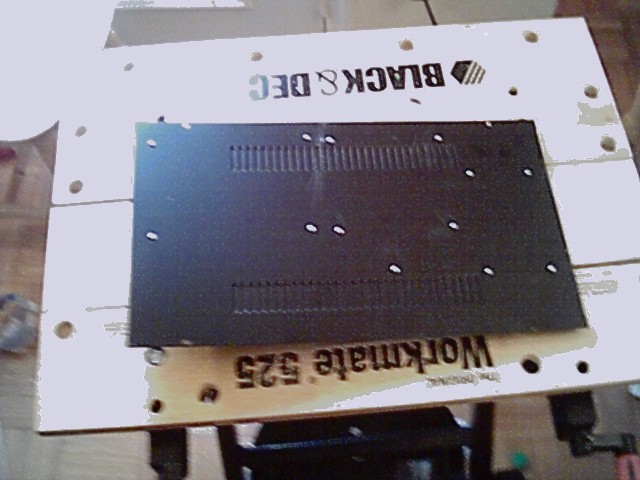
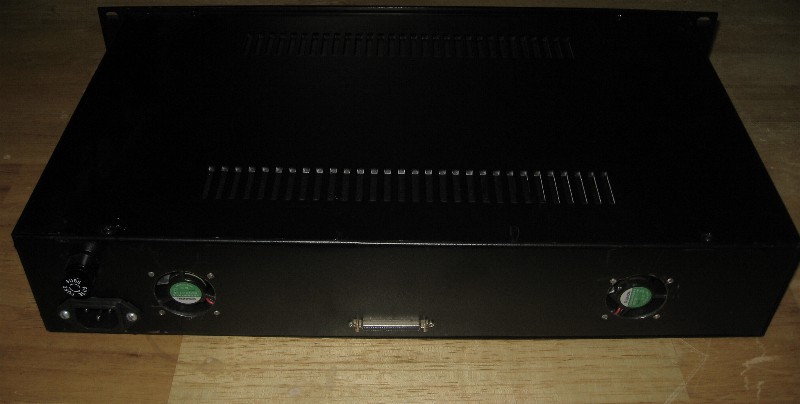 | Back, this picture was taken with better camera. | |
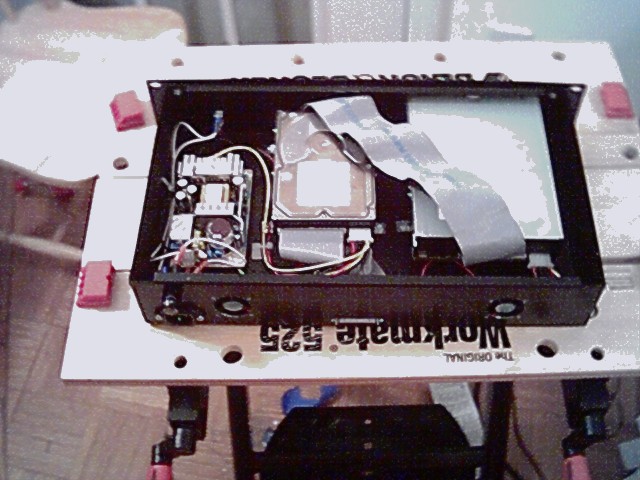
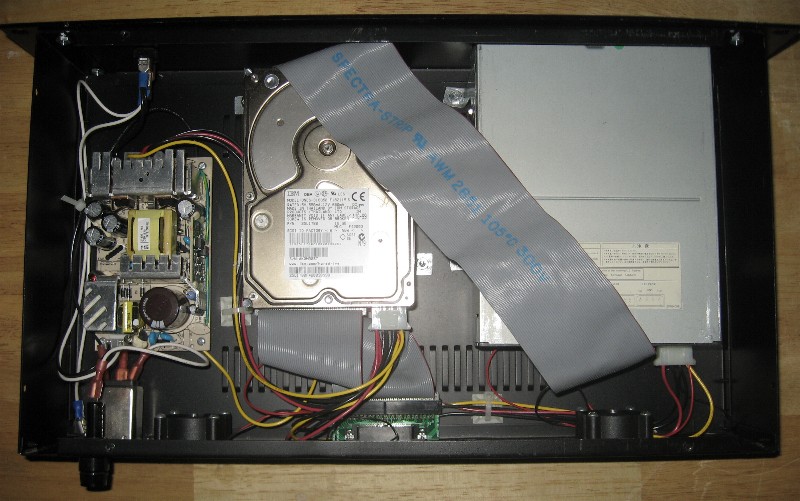 | New picture of inside with better digital camera. | |
This project took about a long weekend to complete. The hardest part was making openings for fans and CDRom drive. It was a fun project and works great. The fans are not too loud. But the unit only has to be turned on when the XV5080 is powered up, and then can be turned off when not in use.
Drop me an email if you wish to make something like this and have any questions, I will be glad to help as best I can.